
How To Make Starter, the Easy Way
Really. Truly.


Editor’s note: Join us for this afternoon’s member discussion on Thanksgiving leftovers. We’ll be sharing Bittman recipes, answering questions, offering inspiration, and more. We’ll send the email link at 1 p.m. and run the discussion until 3 p.m. EST.
We hope that Mark’s piece in The New York Times about bread making will spur even more people to delve into baking with whole-grain and naturally fermented starter (“sourdough”) — and we realized it was easy enough to get newcomers started with a simple starter recipe. (Our bread recipe is too long to publish here, plus obviously, we hope you’ll buy the book.)
In Bittman Bread, we provide a starter recipe that begins with making a yeasted bread. We did that because a) it works, and b) we saw it as a way of encouraging simple breadmaking.
But there are countless ways to make starter and this is (as far as we know), the fastest and easiest. It does take a couple of days, but once established, “maintenance” is simply use: If you bake bread weekly, or even somewhat less frequently, this starter can be stored in the fridge more or less indefinitely. Our technique is to boost the starter whenever you bake, but if you prefer you can just feed it weekly or so, and use the excess to make pancakes, for which we’ve included a recipe.
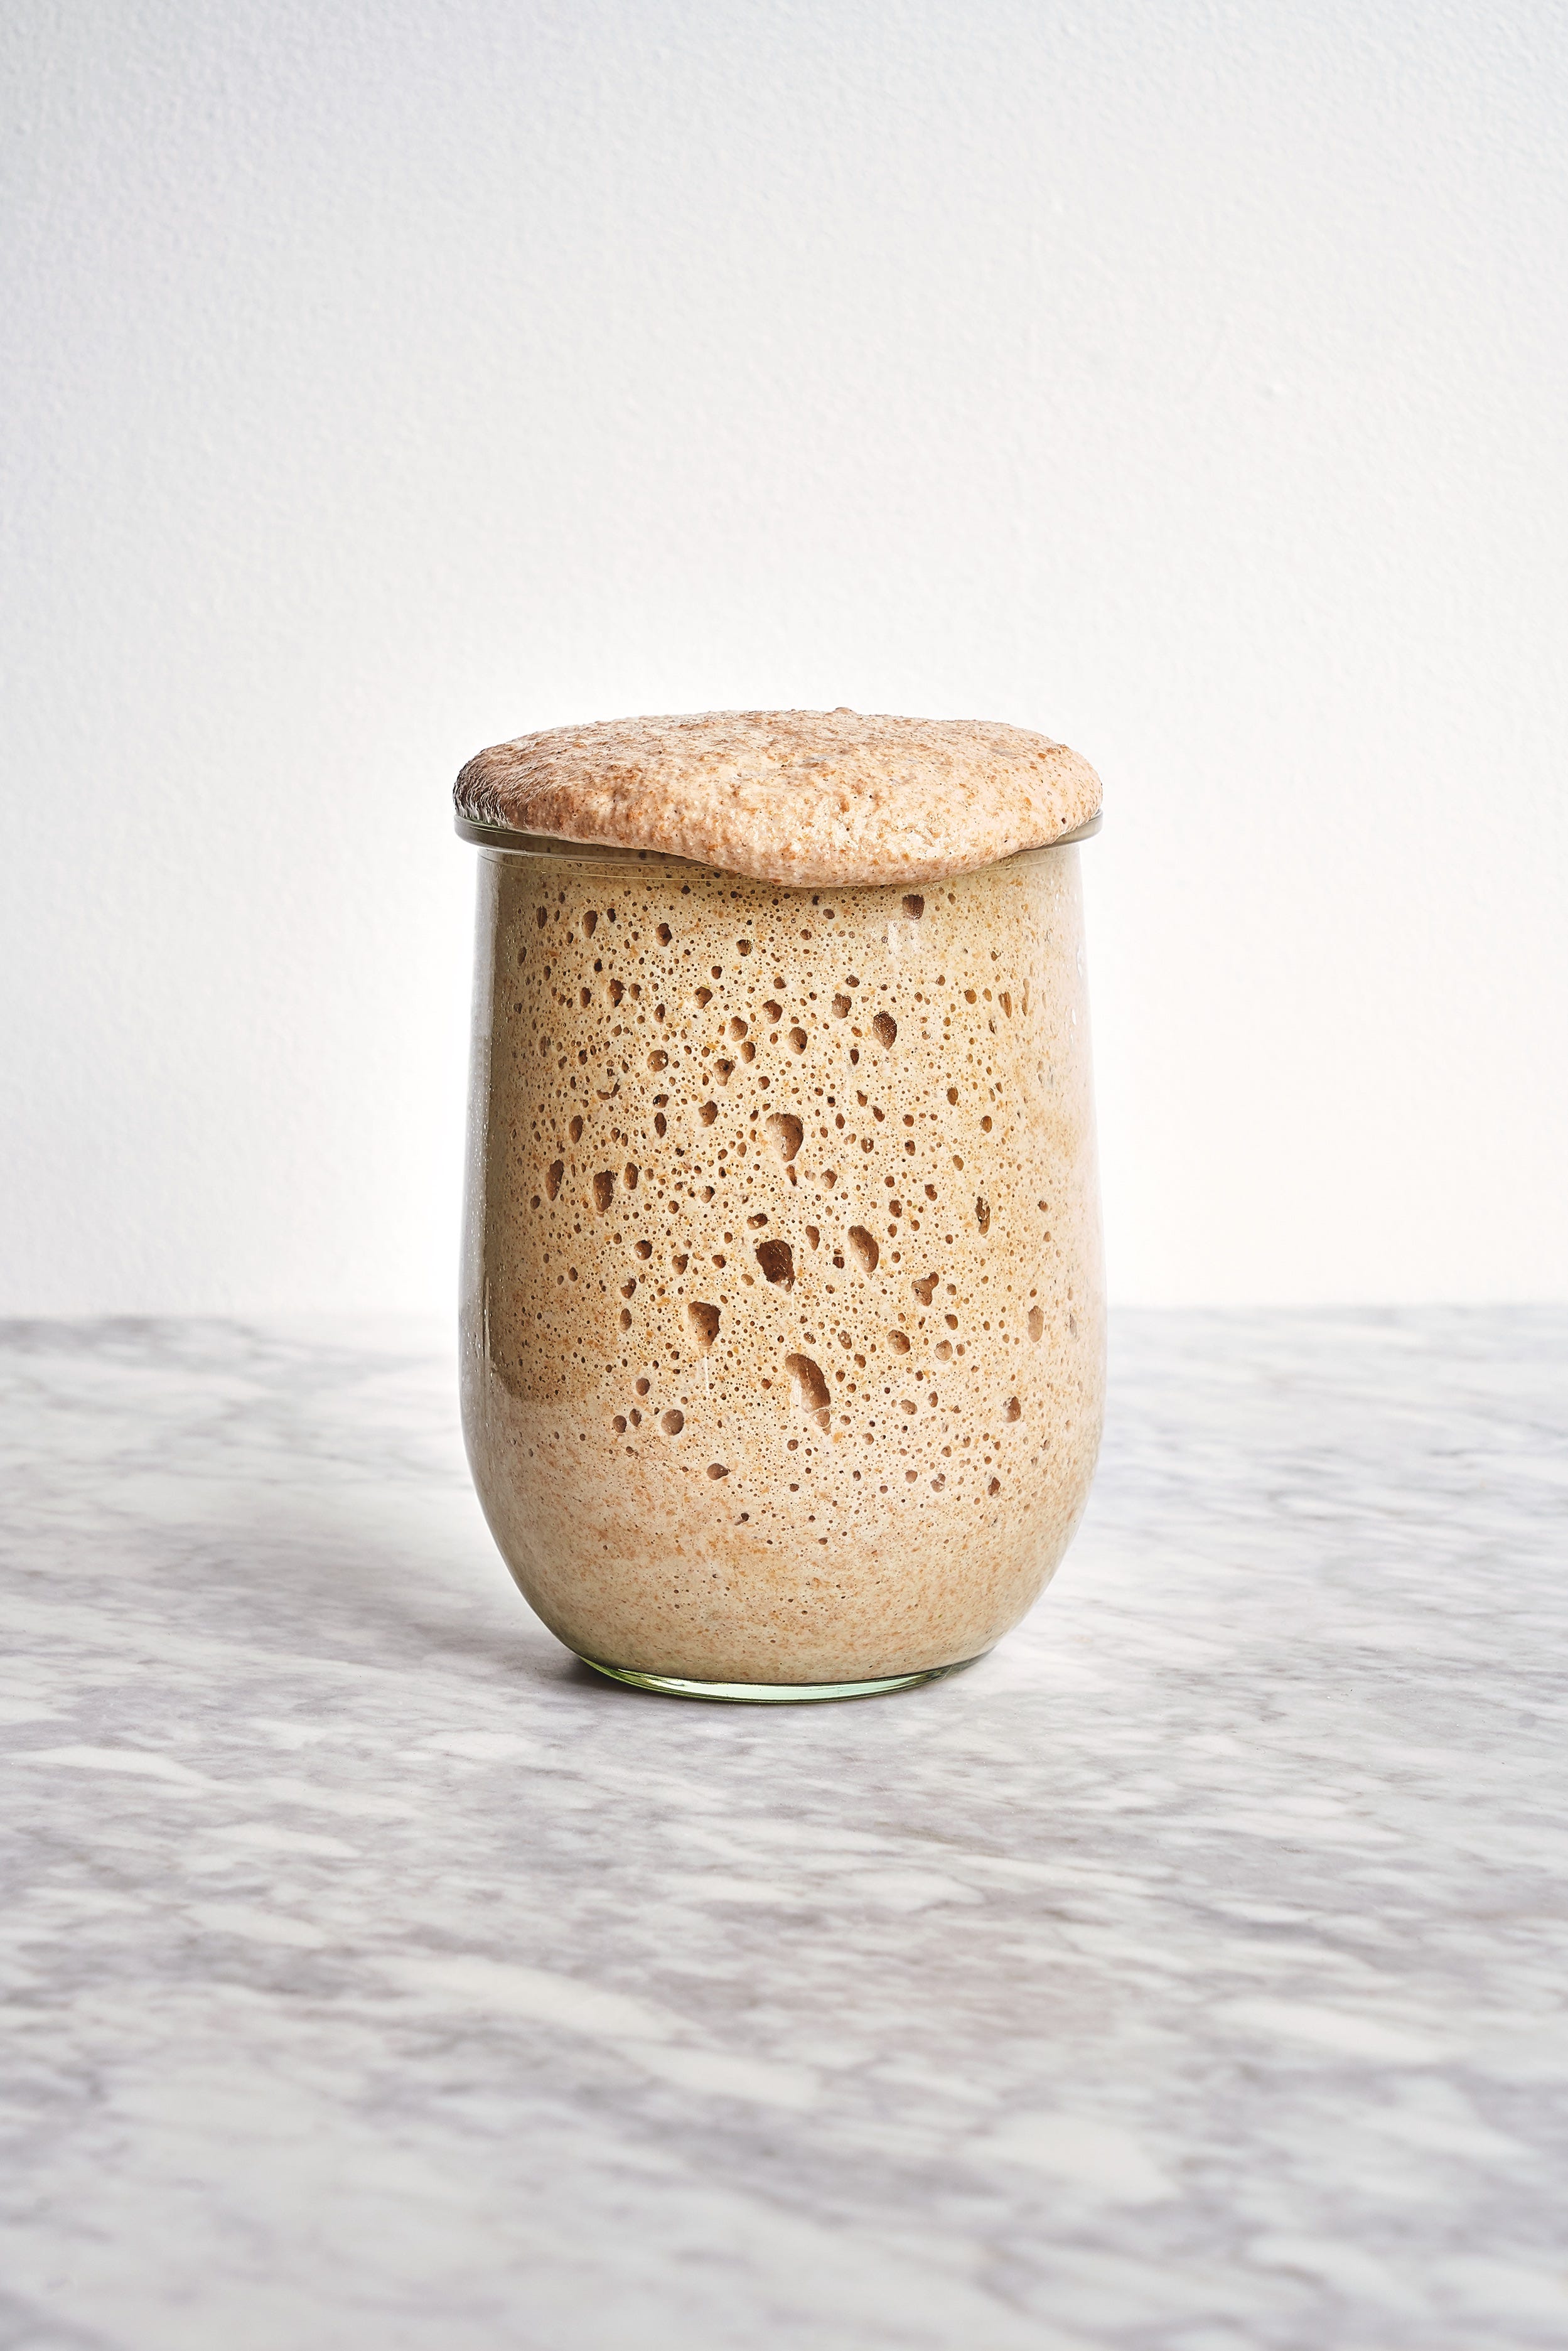
So: In a bowl (or a plastic-covered container), combine 1/4 teaspoon instant yeast with a 1/2 cup of flour (whole wheat is best, but all-purpose is fine here) and enough water to produce a thick batter – 3/4 cup or so. Stir that, cover it with plastic or the lid, and leave it at room temperature for 12 to 24 hours.
You can feed this once or twice a day; either will work, but twice a day will give you faster results. Just add another 1/2 cup of flour and enough water to restore the texture to batter-like. The mixture will be bubbly and smell yeasty. (If it gets too big for your container, you can discard some or, again, make pancakes – but that’s not a requirement.) After three or four feedings – probably by the second day and certainly by the third (counting the first day as zero) – this starter will power any sourdough bread recipe, and you’ll never need yeast again. (Or you can wait up to 72 hours before using it; just cover and refrigerate it until you need it. You can wait even longer if you keep feeding it.)
Every time you bake—or once a week if you’re not baking anything — feed the starter roughly equal weights of flour and water to compensate for whatever you use. (Occasionally you may add a little more water to keep the starter loose enough to easily spoon or pour.)
Want to hear more about Bittman Bread? Check out our podcast and an excerpt from the book.
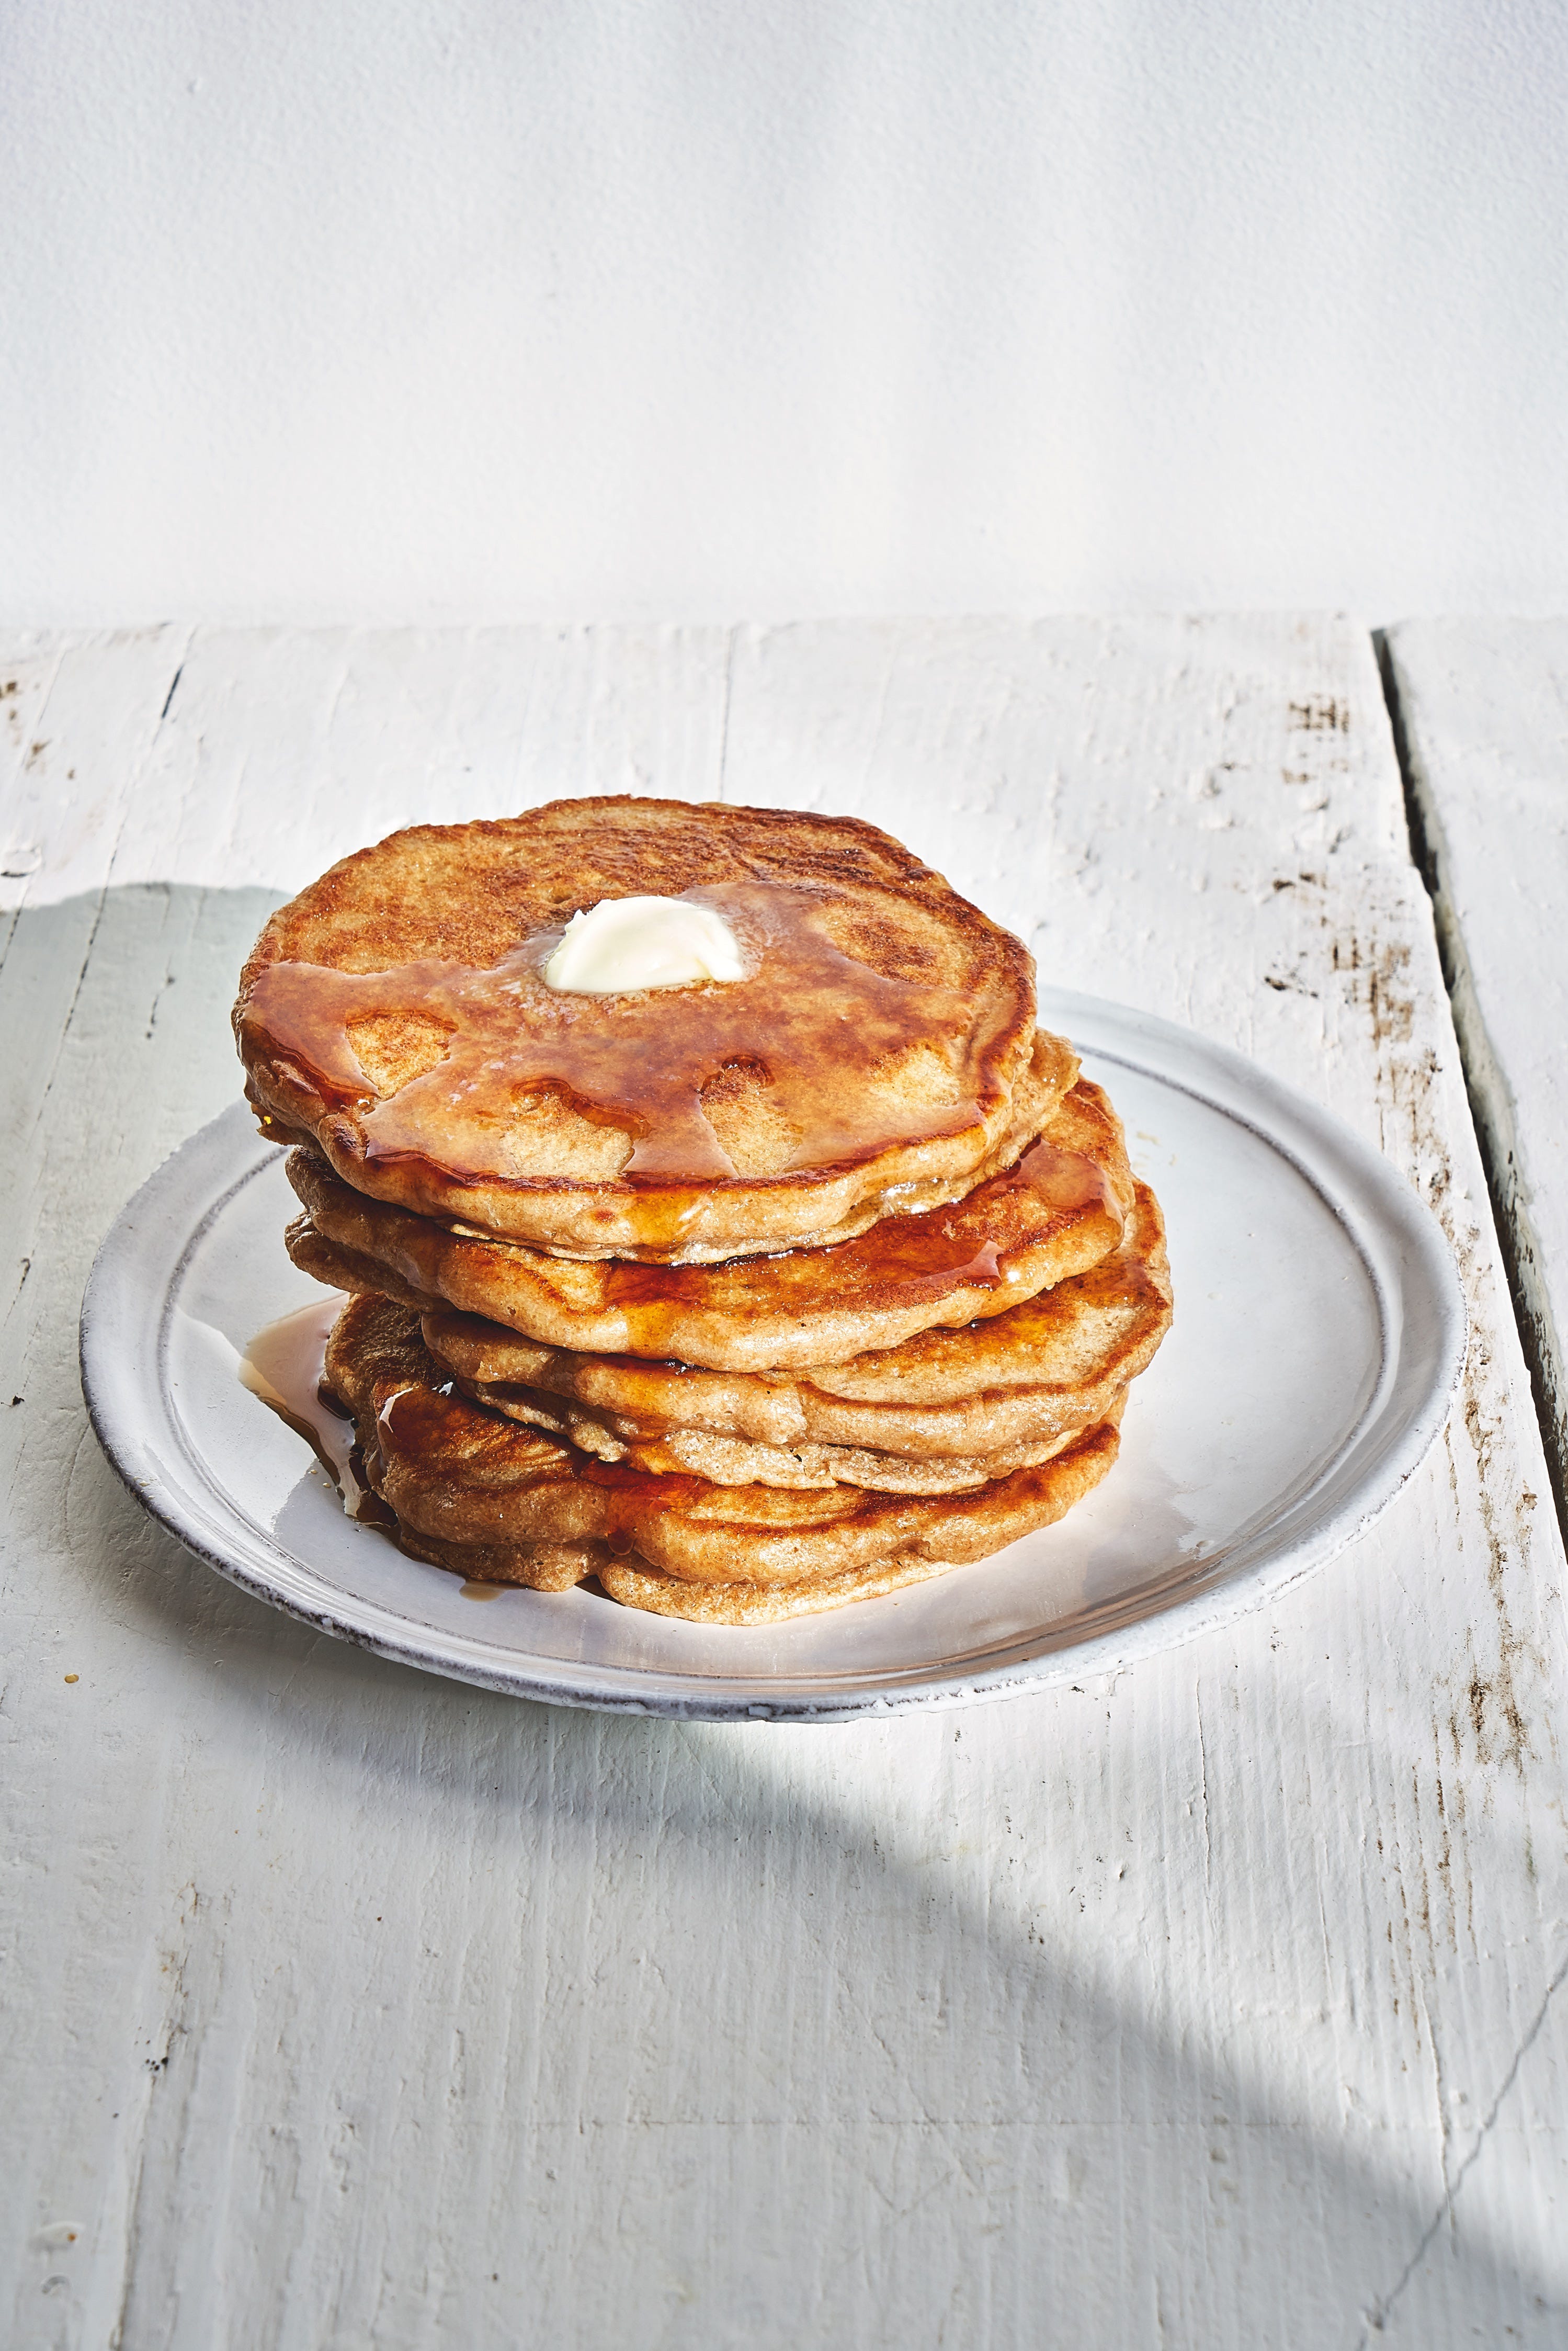
Pancakes
Makes: 12 hearty pancakes (4 servings)
Time: 8 to 12 hours for the jumpstarter. Up to 24 hours hibernation (optional but helpful). 1 to 2 hours to mix the batter and cook (depending on whether the jumpstarter hibernated).
Assuming you want these for breakfast, get things rolling before you go to bed. (If you want breakfast for dinner, start in the morning.) A couple of technical notes about the cooking: Whole wheat requires you maintain a slightly lower temperature than you’d normally use to cook pancakes; this gives them time for maximum rise while ensuring the centers are cooked through and the outsides are perfectly browned. You can make them any size, but we like to keep them on the small side, which makes them easier to maneuver in the pan or on the griddle.
Ingredients
100 grams whole wheat starter
225 grams whole wheat flour, plus 50 grams for feeding the starter
300 grams whole milk, plus more if needed
50 grams water for feeding the starter
30 grams turbinado sugar (about 2 tablespoons)
1 teaspoon baking powder
Pinch salt
2 eggs
30 grams butter, melted (about 2 tablespoons), plus more for cooking and serving
Maple syrup for serving
Instructions
1. Combine the starter, 100 grams of whole wheat flour, and 100 grams of milk in a large bowl. Stir, scraping the sides and bottom as necessary, until all the flour is absorbed. Cover with plastic or a damp kitchen towel and let it sit at room temperature for 8 to 12 hours. (Meanwhile, feed the remaining starter as described above.)
2. When you’re ready to make the pancakes, add the remaining 125 grams flour and 200 grams milk, along with the sugar, baking powder, and salt. Stir just to combine, then add the eggs and melted butter and stir again until almost smooth; some lumps are preferable to overmixing. Add a little more milk if the batter doesn’t plop from the spoon easily. Cover and let the batter sit until bubbly, at least 30 minutes but no more than 2 hours.
3. Heat the oven to 200°F. Fit a wire rack into a baking sheet and set it in the oven. Heat a large griddle or skillet (preferably cast iron, carbon steel, or nonstick) over medium heat. When a couple of drops of water skid across the surface of the pan before evaporating, it’s hot enough. Put a pat of butter on the griddle or in the skillet. When the butter stops foaming, ladle in enough batter to make pancakes about 4 inches across each. Spread the batter evenly as necessary; you want them about 1/4 inch thick.
4. Cook, undisturbed, until the edges are set and bubbles appear in the center of the pancakes, 2 to 4 minutes. Adjust the heat as needed; you want there to be some sizzling without burning.
5. Carefully slip a spatula under a pancake and peek to see if it’s brown on the bottom; at this point, you can rotate them on the same side to cook more evenly if you like. Once the bottom is brown, turn the pancakes. Cook the second side until lightly browned, another 2 to 3 minutes. Serve right away or transfer to the pan in the oven to keep them warm for up to 15 minutes while you cook the rest. Repeat with the remaining batter, adding more butter to the griddle as necessary. Pass maple syrup and more butter at the table.
— Recipe from Bittman Bread: No-Knead Whole Grain Baking for Every Day
Hi Everyone! Some of you have asked me about the foil ring used to adapt large Dutch ovens so they can bake like the required 2-quart size. (The technique is described on page 41 in the book.) Yesterday I posted two Google links but the sharing is going to be a challenge. So I'm putting them on my IG feed @ourdailybowl with the #bittmanbread tag so you can find them either path. (Thanks, Naomi, for the smart idea!)
Hi Everyone! So excited by your enthusiasm and questions! Let me try to answer them all in one place by clarifying why the Bittman Bread process is a little different than what you might be used to or have researched elsewhere. Here goes:
--You can make a fresh starter based on the recipe here or the Beginner Bread directions in the book; or you can convert your current starter to whole wheat. There are detailed directions and photos in the book about building and maintaining our starter from all three situations.
--Once bubbling, the starter lives in the refrigerator. So you only need to feed it or bake every 7 to 10 days. (As Scott does, too, as he describes below.)
--Because the starter lives in the fridge the leavening power is less active than that of a constantly fed one that lives at room temperature. Some might describe this state as what they're used to use or call "discard." But maintaining and feeding it our way is what allows such flexibility in your baking schedule and frequency.
--For the recipes in this book, we use it straight from the fridge to start every recipe with what we call a "jumpstarter." (The only exception are the Crumby Cookies, which are made from dried breadcrumbs; we've also included several short prose recipes for interesting stuff to do with extra bread.)
--By beginning with the jumpstarter, you're feeding the semi-dormant starter so it's ready to make bread, or any of the other dozens of baked foods in the book. Bakers call this a "preferment" or you may have heard the terms poolish or sponge.
--You always use at least 100g of starter (again from the fridge) to make the jumpstarter. Some recipes call for more. That's usually about 3/4 cup, depending on how thick your starter is.
--When you bake something, you feed the starter to replace what you took out--in some ratio of water to whole wheat flour that depends on the thickness you want to maintain. We explain that with photos and details, too, but usually it's 50/50 or maybe 40/60 with a tad more water than flour.
--So you need to maintain 200-250g starter in a container in the fridge. That way when you take out the 100-200g to begin baking something from Bittman Bread, you always have 100g or so to fuel that replacement feeding.
--If you don't bake in a week or so, yes, you still have to feed the starter and return it to the fridge. One choice is to truly discard that 100g or so you're going to take out for feeding. Whenever you decide not to bake but need to feed the starter, that means you're wasting no more than 1/3 cup flour, far less than if you're trying to maintain a starter on the counter.
--The other option is to use that 100g to bake something in the book besides a loaf of bread. (In addition to all sorts of whole grain boules and sandwich loaves, there are sweet and savory pancakes, waffles, dinner rolls, flat bread, English-style muffins, and cake.) Or even use what you pull off in other so-called "discard" recipes.
--Bittman Bread basic recipe is a relatively small whole grain boule, like 8 inches. It bakes in either a 2-quart Dutch oven or a 5-quart pot fitted with a loose ring of foil in the bottom. A double recipe fills that standard 5-quart pot for what we call Big Bittman Bread. That larger loaf is more the size of bakery bread and is perfect for larger families or gatherings.
--Whole wheat bread keeps better than white: a few days at room temp and then in the fridge for many more if there's any left. We find that it serves 4 or so for a meal; 2 will nibble on it for a couple days; and 1 person will usually finish it in less than a week.
I hope this helps clear up your questions. Or if it raises more, that's fine, too! I'll hop back on tomorrow. Many thanks again to you all!
K